spring sale
save up to $100
VKX Quick Start Guide
In The Box

VKX Security Camera
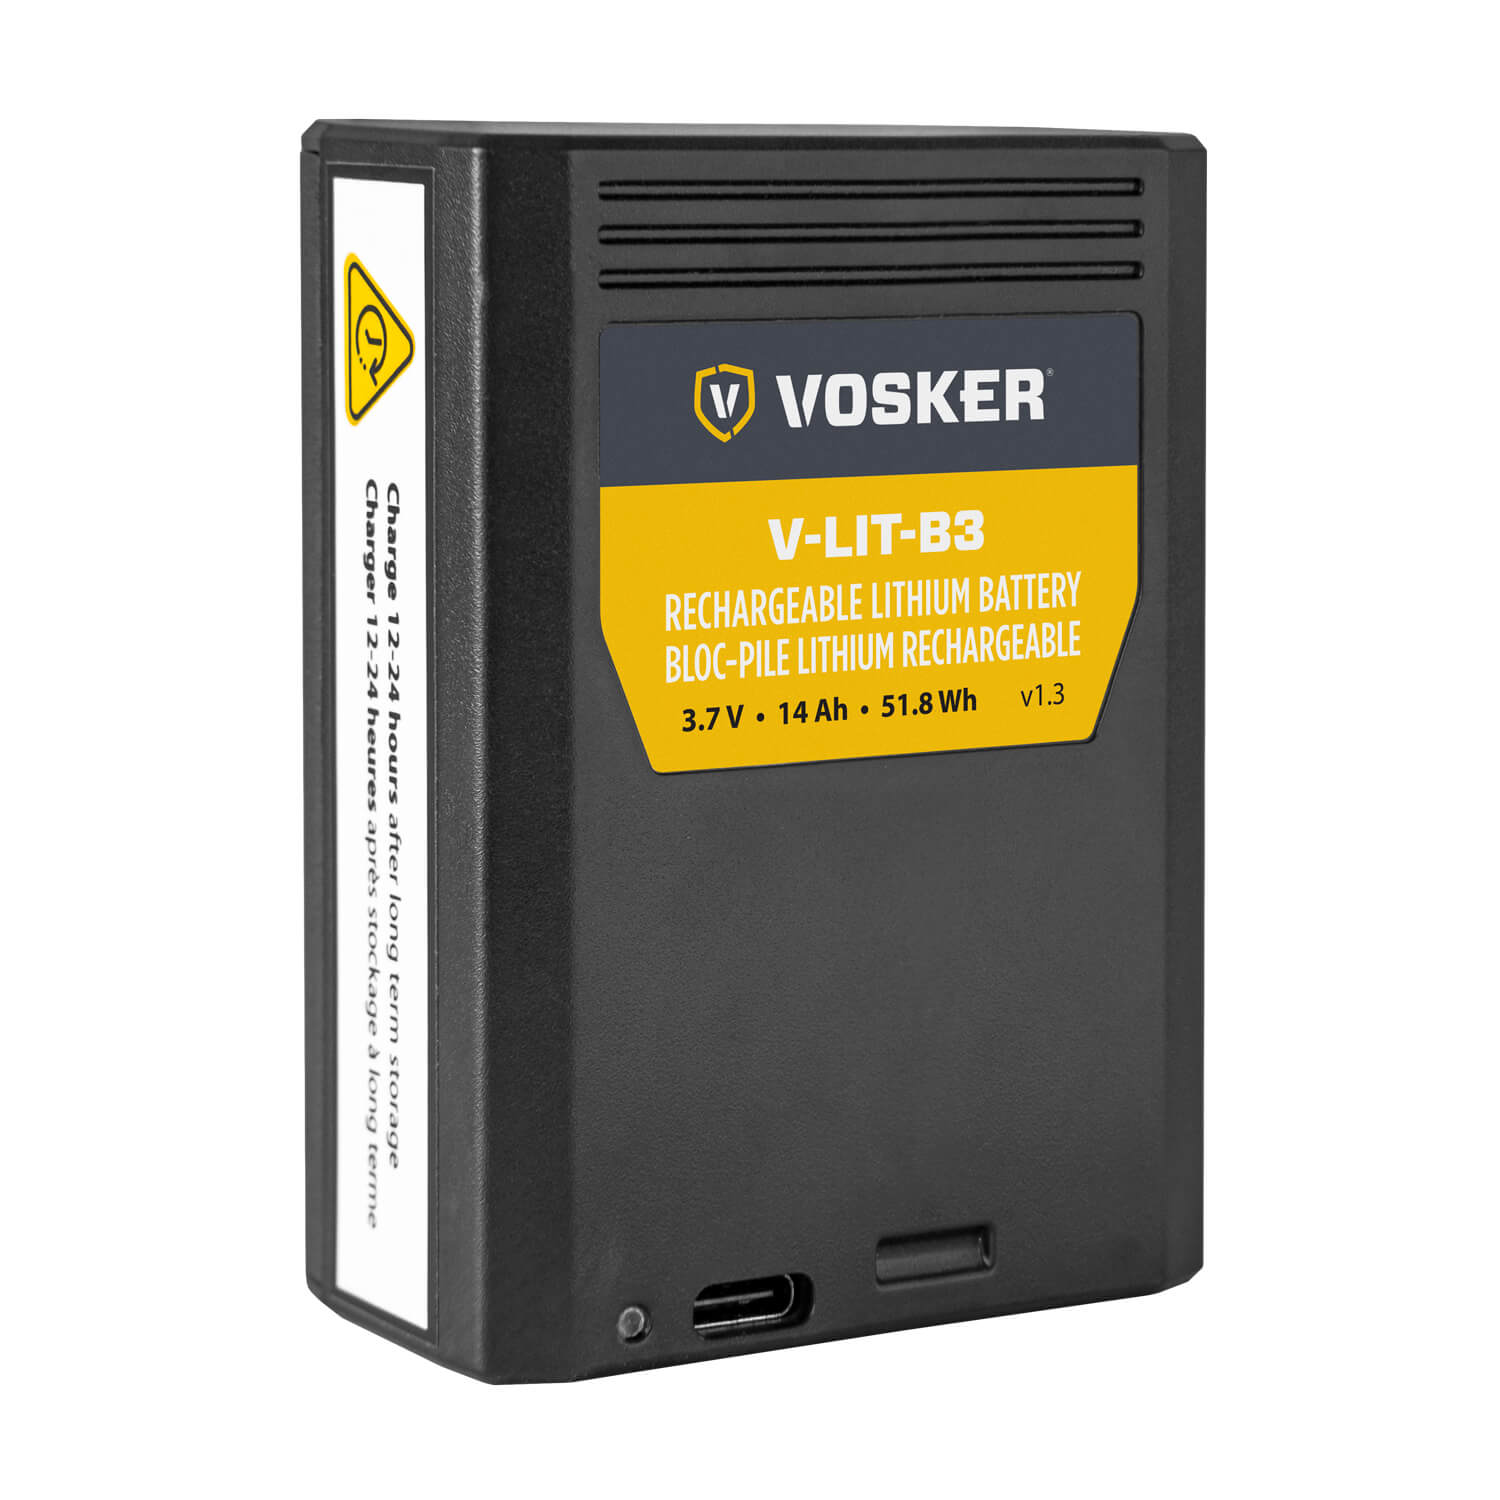
14,000 mAh Lithium
Battery (V-LIT-B3)
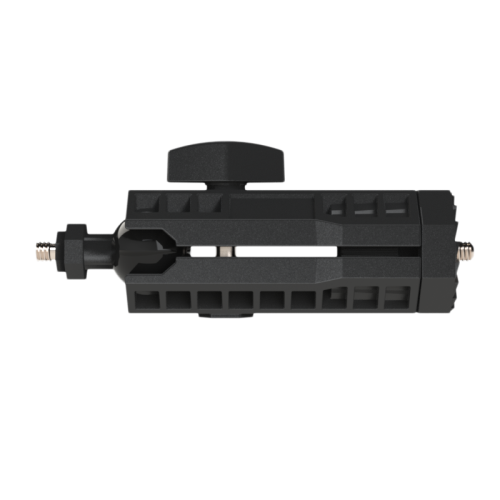
Adjustable 360°
Swivel & Tilt Mounting Arm

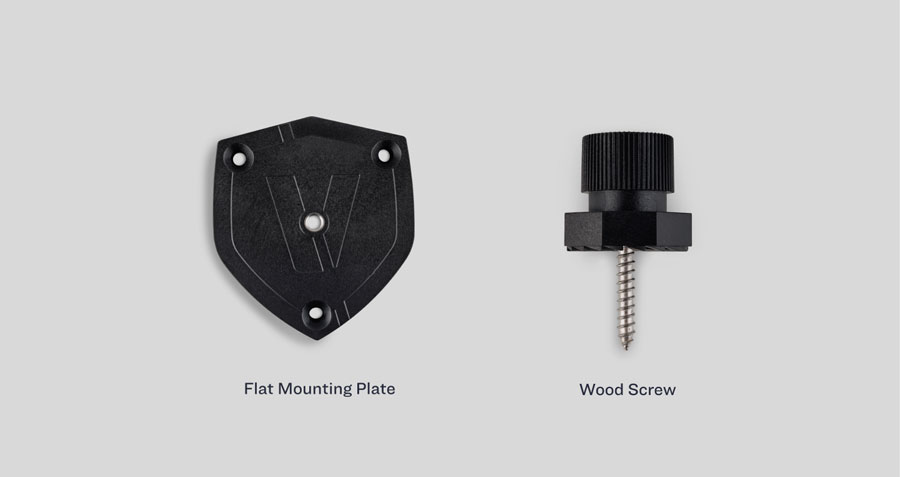
Flat Mounting Plate
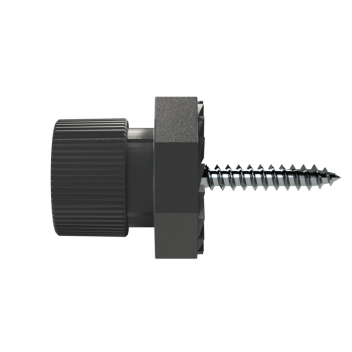
Wood Screw
Mounting Option
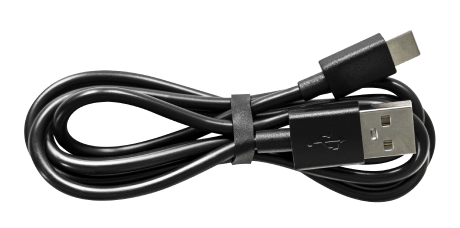
USB-A to USB-C Cable
(Battery Charging) 3 ft / 1 m

Stickers “Protected
by VOSKER” (2x)
COMPONENTS & PARTS
1
Antenna
2
Solar Panel
3
Detection Lens
4
Deterrent light
5
Photo Lens
6
Light Sensor
7
Microphone
8
IR LED
9
Door latch
10
Battery level
11
Signal level
12
Status light
13
Format pinhole
14
Format light
15
Test button
16
OFF/ON switch
17
SIM & SD cards compartment
18
Battery compartment
19
USC-C port
20
Screw-threads for 1/4”-20 mount (under and back)


1
2
3
4
5
6
7
8
9
10
11
12
13
14
15
16
17
18
19
20
Activation
Step 1
Charge the battery packfor 24 hours
Use the provided USB-A to USB-C cable to charge the battery pack with a standard USB charger (not included). Charge the battery separately from the camera.
Step 2
Download the
VOSKER app and sign in
Minimum version requirements:
iOS 15 for iPhone, Android 10 for other smartphones.
Step 3
ADD YOUR NEW CAMERA
Follow the instructions on the screen to
activate your camera.
Step 4
Power On Your Camera
The first power on sequence will initiate a remote download of the
latest firmware. Please
note, this process can take up to 15 minutes
to complete. Your camera is ready when all
lights are off.

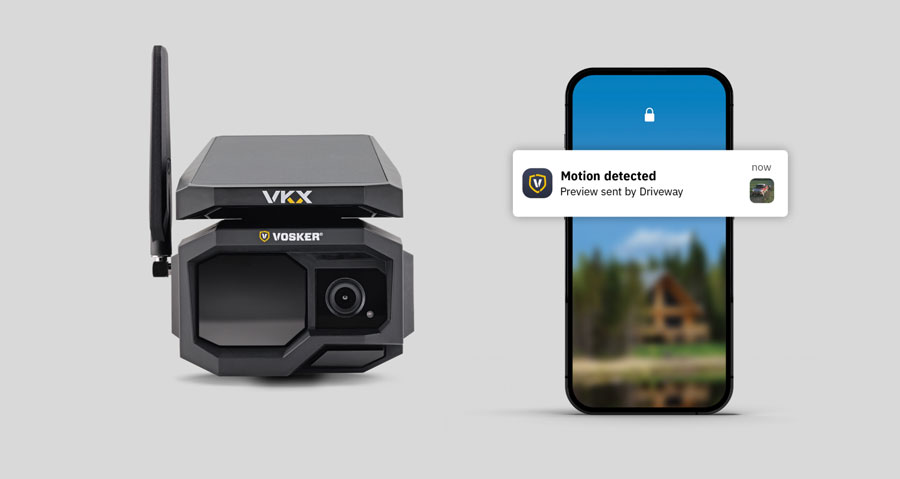
Step 5
Make sure your
camera sends alerts
Once your camera appears in the app, wave your hand in front of the
camera and check your
app for new alerts.
On-site Installation
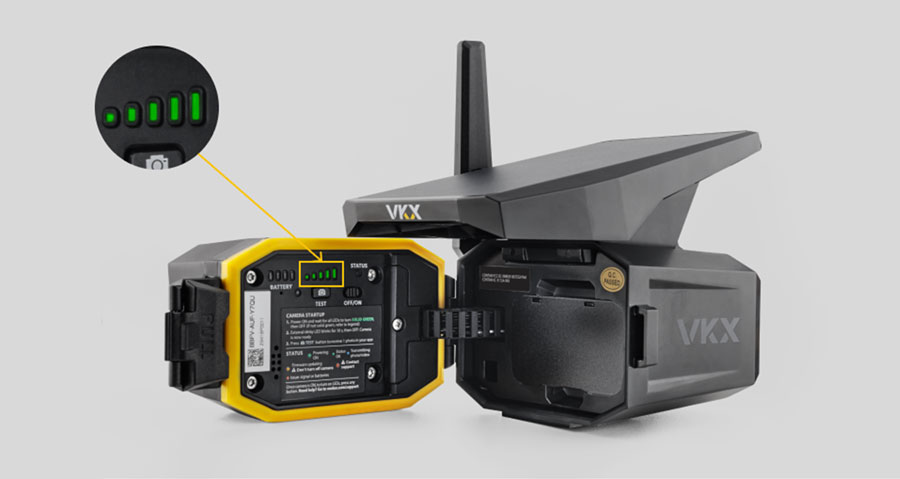
Step 6
Get a strong signal
Before installing, check where the camera gets the strongest signal. The
stronger the
signal, the longer the battery will last.
- 1 bar: poor signal, change the location, adjust the antenna, and press the
TEST button to refresh the signal lights. - 2: fair signal
- 3-5: good signal
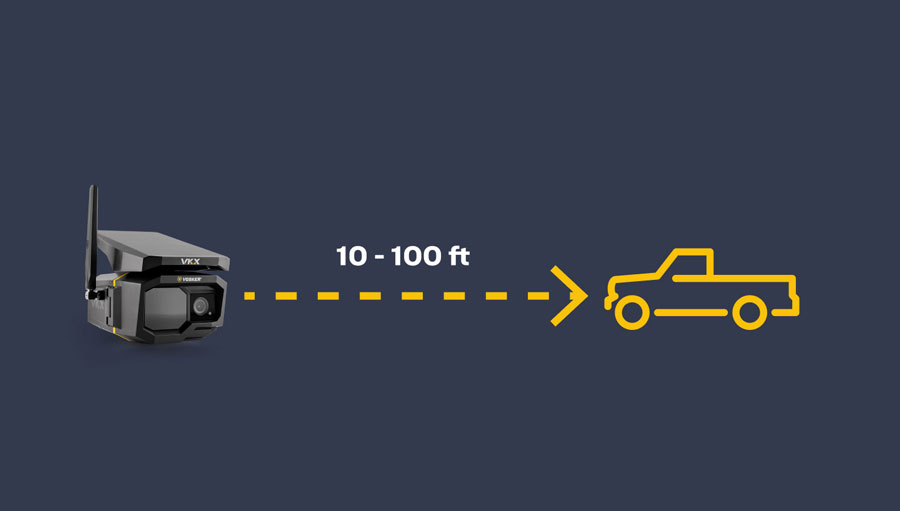
Step 7
Pick the angle
and the distance
The camera should be installed at a reasonable distance from the area you want to secure
(between 1O to 100 ft). Make sure the solar panel gets enough sunlight exposure. The
camera
should be aimed at the target, in a way to avoid backlighting and false detection
caused by
direct sun rays into the motion detector. Press the test button to confirm framing.
Step 8
Choose the
appropriate mount
Choose between the flat mounting plate or the wood
screw for your camera.
Screw in the long piece, before screwing the round piece
to your camera. Adjust the angle.
Step 9
Test your camera
before leaving
Move in front of your camera and check your app to see the latest
detection.
Remove Product?
Are you sure you want to remove the following product from the cart?